In this article, we will focus on showing you how to import music from your computer into your Innuos Server via the Auto Import folder. The Auto Import shared folder simplifies the process of whenever you want to copy music from your MAC or PC directly. Also if you buy and download a new music into your computer, just copy it into your Auto Import folder for a very convenient and speedy way to add to your Innuos music library. Here’s the step by step procedure:
1. In your computer, access the Auto-Import shared folder on your Innuos Server. You can check how to access the Shared Folders from your computer on this article.
2. Copy the files/folders from your computer in the Auto-Import folder.
3. Once you copied your files navigate to your browser, go to my.innuos.com on your browser and select “Import” .
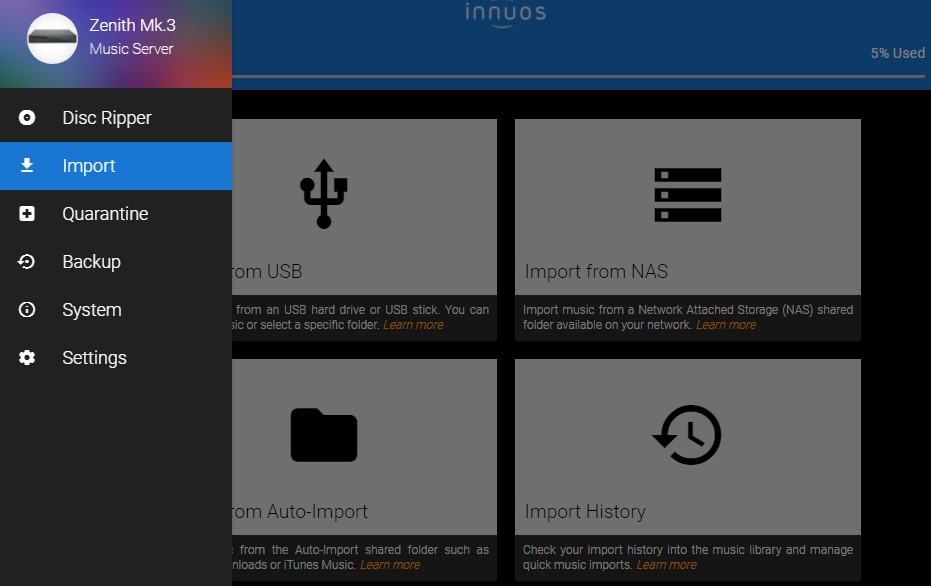
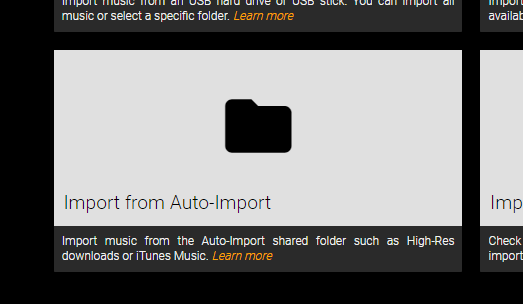
4. Select “Import from Auto-Import“.
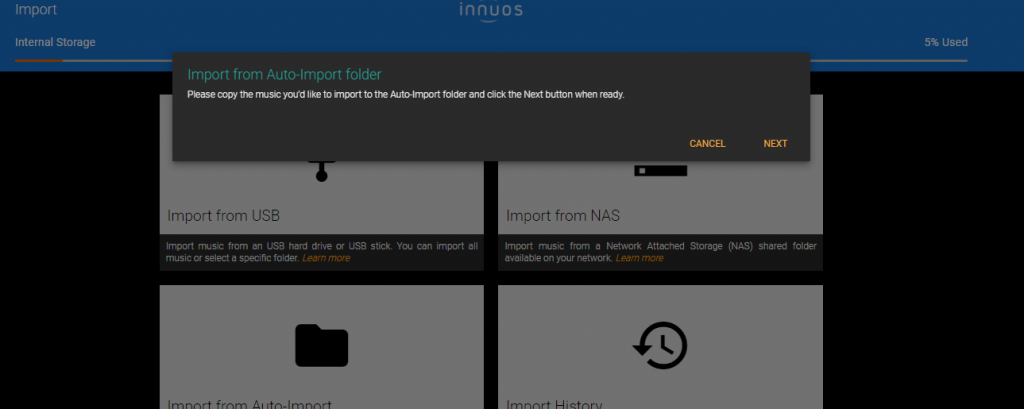
5. A dialog will instruct you to copy your music files into your Auto Import folder but at this stage, you would have already done that so go ahead and click on “Next“.
6. On the next window you will be able to choose from two types of Auto-Import:
– Quick Import: Choose Quick Import to preserve the existing file and folder structure, and place the Music in a sub-folder that you can name for easy identification.
– Import: Choose Import to automatically re-organize the folder structure, based on the file metadata. Albums that are missing crucial metadata or are duplicates can be edited later on Import History.

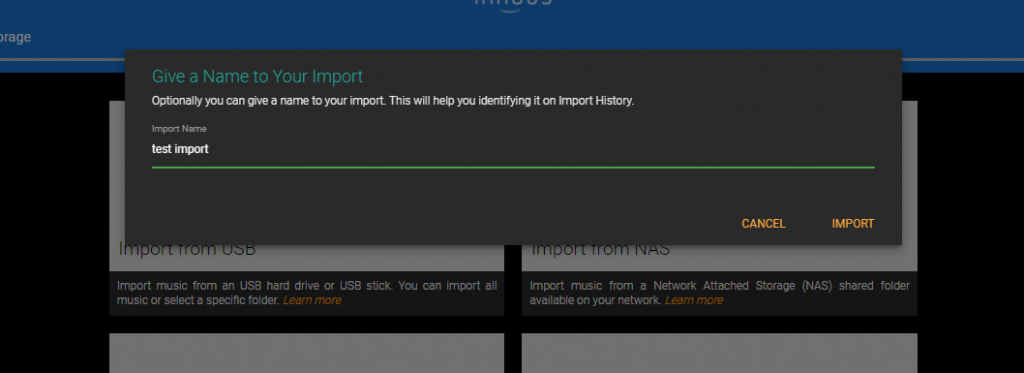
7. Both options will allow you to choose a name to your import action (this will make things easier to identify it in your Import History)
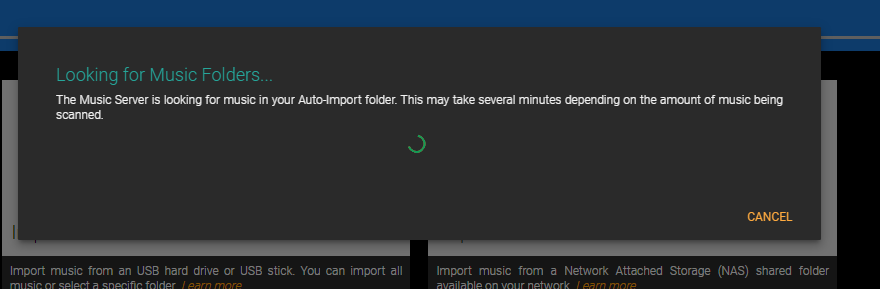
8. Import will now start and the music will be copied to your Music Folder. It will then automatically rescan your Music Library which may take up some time depending on how much music was imported.
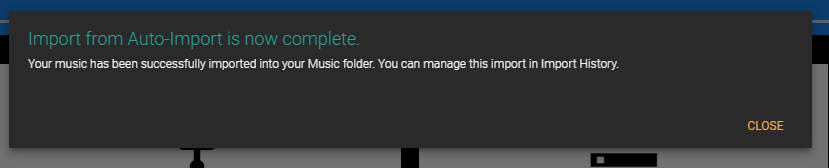
8. Lastly you will a confirmation your Import has succeed and you can close the window.