

Standard digital audio compact discs (CDDA or CD for short) are still one of the most common media for digital audio and commercially widely available worldwide. All Innuos servers/streamers are able to rip (extract) the digital audio tracks from compliant CDs and store them as digital music files in either FLAC or WAV formats – both lossless formats, meaning they keep the original CD digital audio quality intact or without any audio quality loss – on the server’s internal storage.
Innuos servers/streamers do not work as legacy CD players by design so don’t expect to be able to play any inserted disc without ripping it first. Besides higher noise/interference considerations while playing a disc directly on the CD drive the purpose of a Music server/streamer is to hold the digital Music Library centrally stored and then serve or stream it locally to your network connected Hi-Fi devices or play it to a directly attached DAC.
You may rip your entire CDs collection (one at a time) or any occasional CD purchase. Any ripped CD Album will be added to Innuos server Music Library and immediately available to be played on your system. The InnuOS system will try to search for the Album information metadata (album title, artist, year, track listing, cover artwork, etc.) from the available internet databases and apply it to the Album information on the Music Library index.
1. Start by accessing your Innuos server dashboard via my.innuos.com or via the Innuos Sense app on your mobile devices;
2. Go to the Sense dashboard > SERVER > DISC RIPPER page. Please notice the “eject” button on the top right corner – use it if you need to cancel any ongoing CD rip or to force eject any disc. Also notice several ripping options available in the center of the screen;
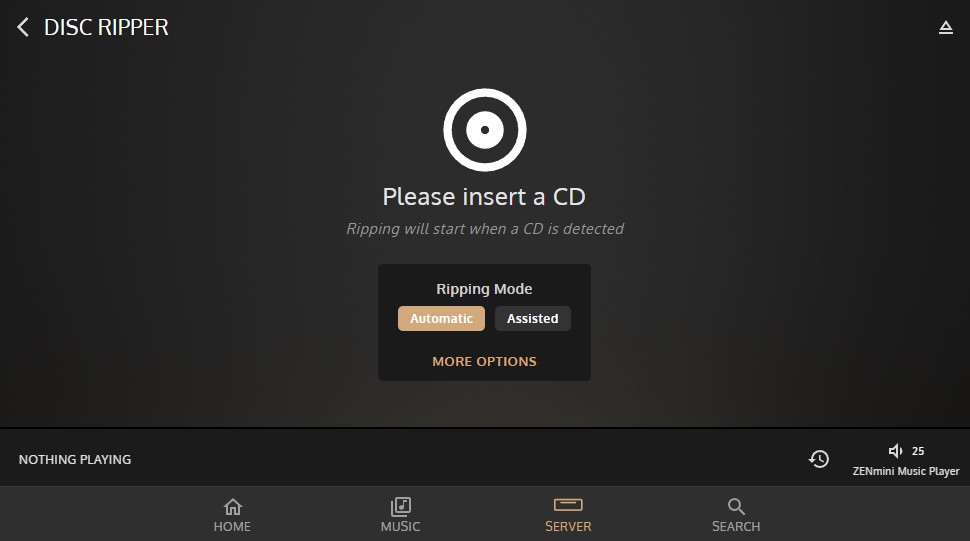
3. By default the selected “Ripping Mode” is “Automatic” meaning that the system will automatically rip the CD and retrieve the available Album information and then add it to the Music Library index. Alternatively, you may opt for the “Assisted” mode instead where the system will retrieve the available Album information but will ask you to confirm it or edit/correct any information before adding it to the Music Library. Optionally you may open “MORE OPTIONS” to change the “Ripping Speed” from the default “Fast” to “Quiet” (will take approximately double the time to rip but will do it quieter) or the “Ripping Format” from the default “FLAC” to “WAV” (both are lossless audio formats but WAV is uncompressed therefore will require more storage space for the same tracks/albums);

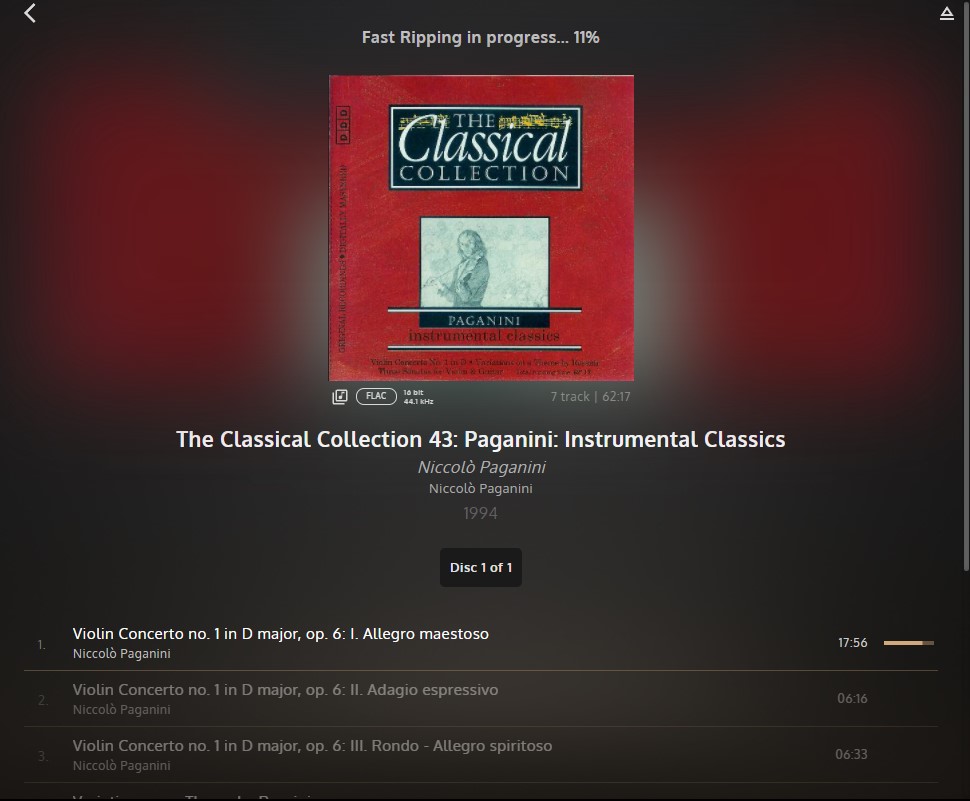
4. Ripping will start automatically when a CD is detected. The Album information is presented and you can follow the ripping progression track by track;
5. When finished successfully the disc will be automatically ejected and the Album will be immediately available in the Music Library to play. Unless there was some difficulty in the ripping process or some other issue found after the rip is finished – in that case, you’ll find an entry on the CD RIP HISTORY list below;
6. (optional) On the CD RIPPER page you can find the CD RIP HISTORY and any possible issue found with any CD rip. In this example the Album is a potential duplicate of a previously ripped or imported Album;

7. (optional) You may “MANAGE” that history list or press/click the options menu for that entry and then choose to save it or delete it. This allows you to prevent duplicated CD rips on your Music Library or manage any other issues with those CD rips;

Done! Easy isn’t it?