

Alternatively to Importing Music from a computer or Importing Music from a NAS over the network, or, if you have your Music files/folders already stored on an USB storage drive then you may choose to import them directly and conveniently by connecting the USB storage drive to your Innuos Server. It works similarly and as easily as the remaining import methods options. It also allows you to revert an import you have done, deleting all files from that import – this is useful if you are just trying the music and not sure yet you want to add them permanently to your music library.
Importing Music with an USB storage drive
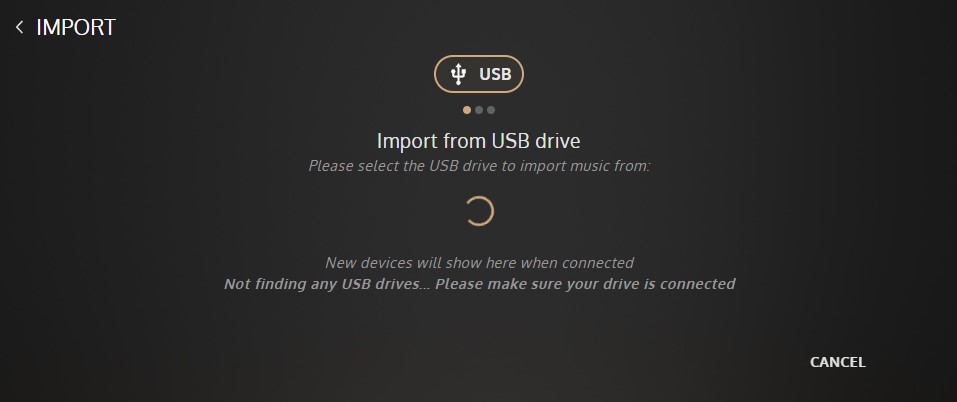
1. Please make sure your USB storage drive already has the desired Music folders/files to import from. Then go to the Sense dashboard via my.innuos.com or the Innuos Sense app > SERVER > IMPORT > USB. Select USB as the source to import from;

2. If you haven’t already connected your USB storage drive to the Innuos server then please connect it now and wait for it to be detected. Please make sure to use the USB 3.0 port (blue coloured) on the back of the server for faster transfer speeds. Depending on the server model you may find one or more USB 3.0 ports available;
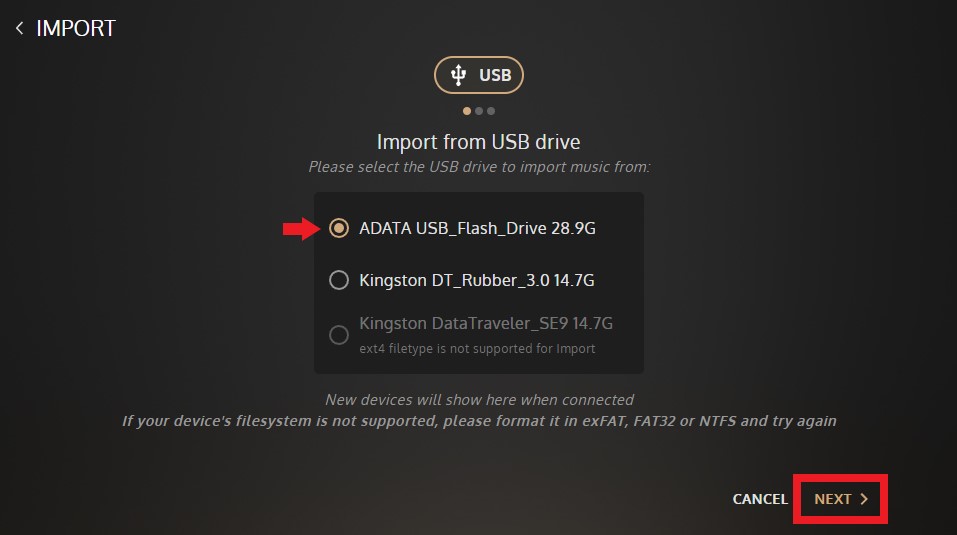
3. You can connect multiple USB storage drives (depending on the server’s available USB ports). All detected USB storage drives will be listed. If an USB storage drive uses an unsupported filesystem it will be indicated and that drive entry greyed out (not usable). You can only import from one at a time. Select the desired USB storage drive to import from and click/press NEXT to proceed;
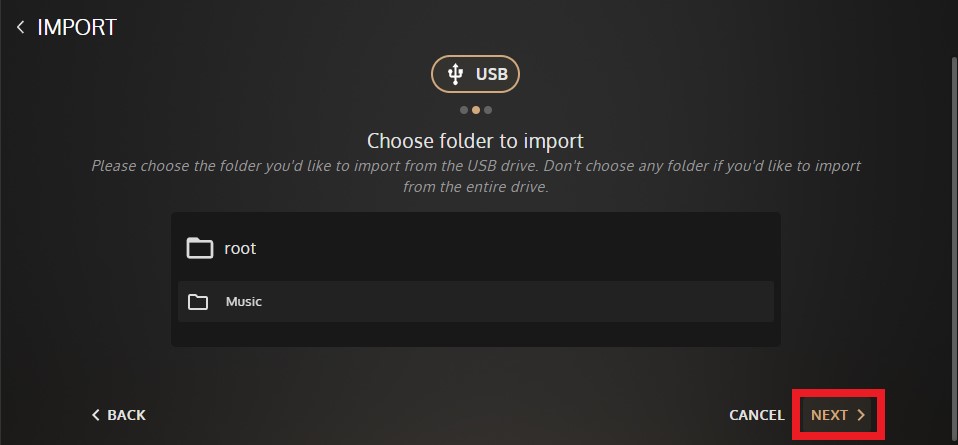
4. You now have the option to import from the entire drive or choose a specific folder to import from simply by clicking/pressing it to open it, in example only for a specific Album or an Artist folder. When done, click/press NEXT to proceed;
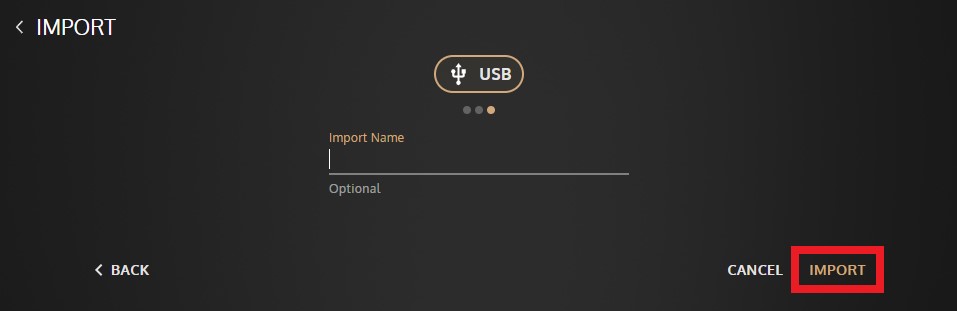
5. Optional: give your Import a friendly name. This will name the folder onto which your files will be copied. If left blank it will get an automatic folder name. Click the IMPORT button to proceed;
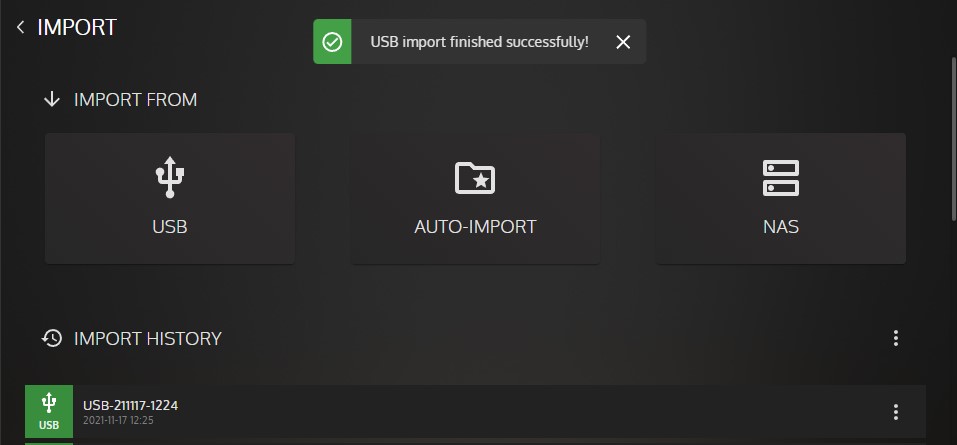
6. The import of the Music folders/files copied to the Auto-Import folder will follow. When finished successfully you should receive a success notification onscreen (as pictured). The Music Library will be automatically updated accordingly. Also notice that it a respective Import History list entry will appear below – you may later use it if desired to delete that specific import of music files/folders and easily revert to the Music Library without them;
Done! The import is now finished and the music was added to your Music Library automatically.