In this short instructional post, we will show you the steps of how to do add your Innuos server on the iOS Files app, allowing you to move music files from your iOS device to the Auto-Import folder and explore the other shared folders.
Do note this process is not unique to Innuos devices, and that this process is largely the same for accessing any shared storage location on your network which some may find useful for exploring devices such as NAS drives from their iOS device.
Before starting, you will need to know the IP address of your Innuos server. The easiest way to obtain this is by simply using my.innuos.com to find and select your server; once you have done this you will notice that the address bar of your web browser no longer contains my.innuos.com, but now contains the numerical IP address of your server.
You will also find the IP address listed on the innuOS ‘System’ tab (v1.4.x) or on the ‘Server’ tab (v2.0/Sense app).
Free network scanner apps such as Fing will also discover and present the IP address.
- Open the iOS app ‘Files’, which typically comes pre-installed on your device.
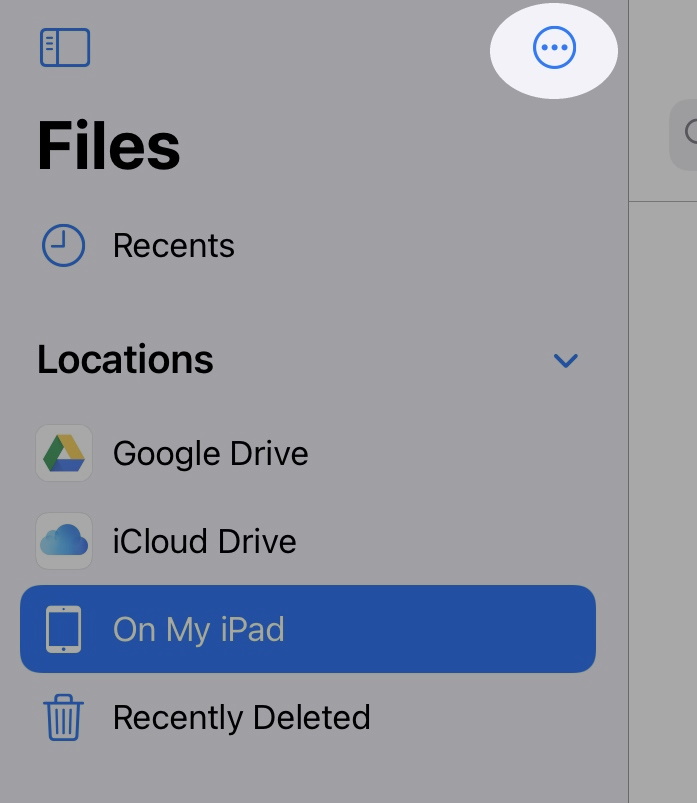
2. From the menu on the left-hand side, select the 3 blue dots near the top for more options.
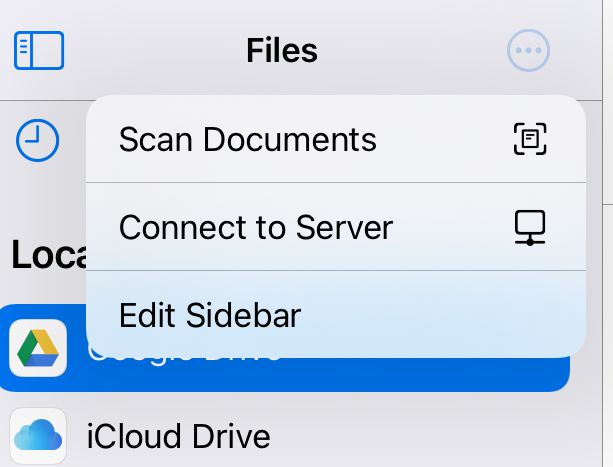
3. Choose ‘Connect to Server’.
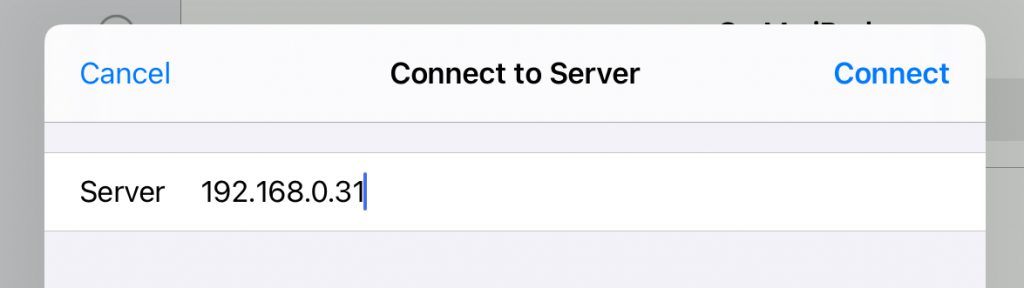
4. You will be presented with a text box to enter a Server name – enter the IP Address of your Innuos device, then press ‘Connect’.
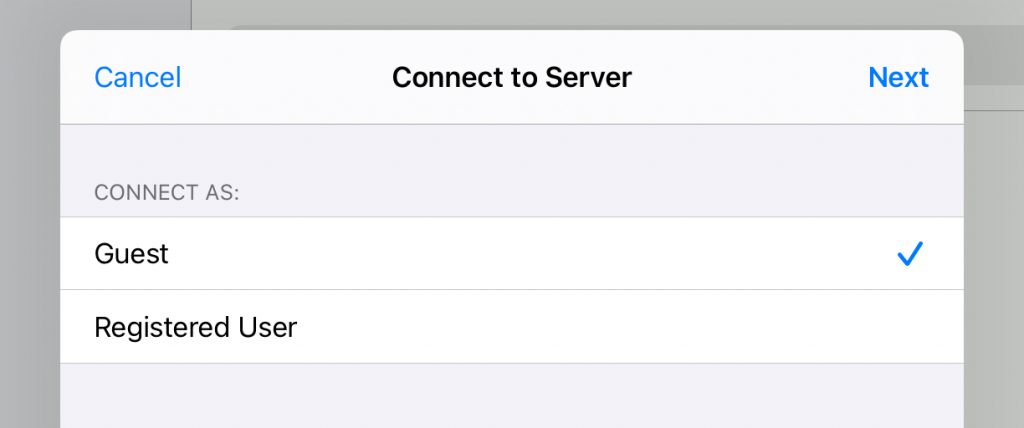
5. At the next step, connect as ‘Guest’, then choose ‘Next’ (the Innuos shared folders are completely open, so the login details in ‘Registered User’ do not apply).
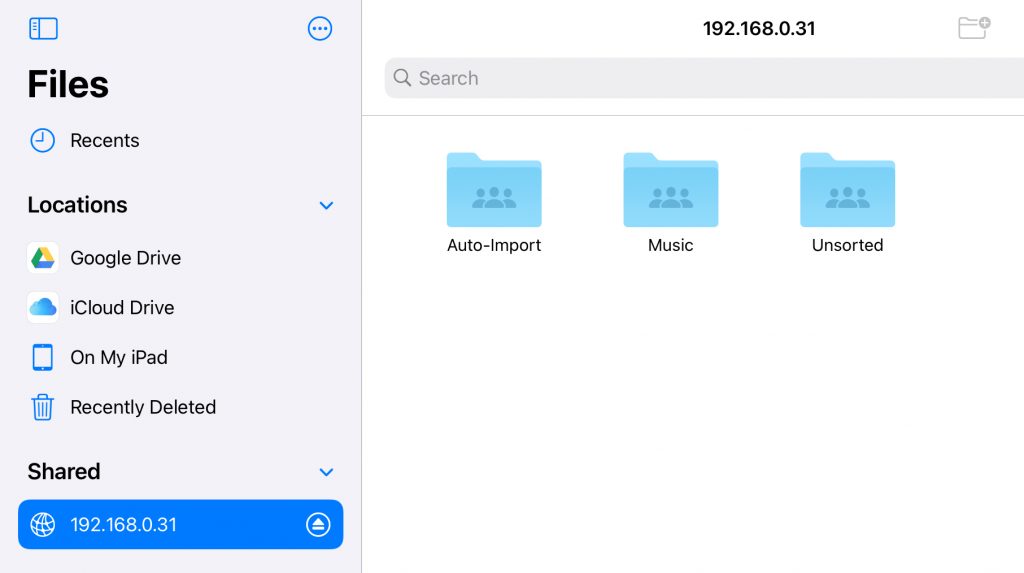
6. Your device should successfully connect, and you will now see the server with its IP Address listed as an accessible shared storage location within the Files app. When selecting it, you will be presented with the Auto-Import, Music, and Unsorted folders.
7. You can now choose ‘On My iPad’ from the left-hand menu and find the music files you would like to transfer to the Innuos server. Press and hold on the folder of your choice to open a context menu, and select ‘Copy’.

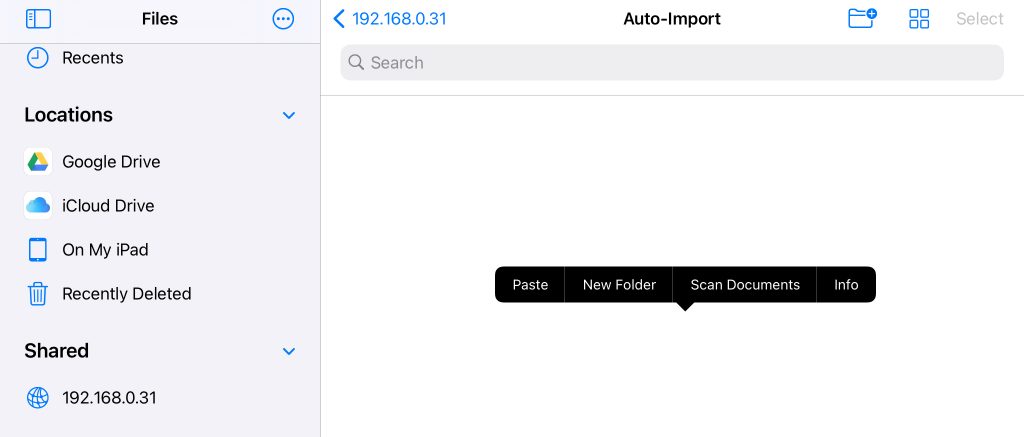
8. Then, choose the Innuos server on the left-hand menu again and select the Auto-Import folder. Once within the Auto-Import folder, press and hold within the empty space to open another context menu, and select ‘Paste’.
9. Once the transfer has completed you can proceed to the innuOS dashboard and perform an Auto Import process, allowing the server to examine and migrate the folers into the main Music Library.