Inside your Innuos Settings, you will find that you have a number of options to import your files into your Innuos server. You can connect a compatible USB drive to the back of your unit; you can connect it to a NAS and you can utilize your Auto Import folder inside your Innuos. In this article, we will focus on showing you how to import music from a USB drive.
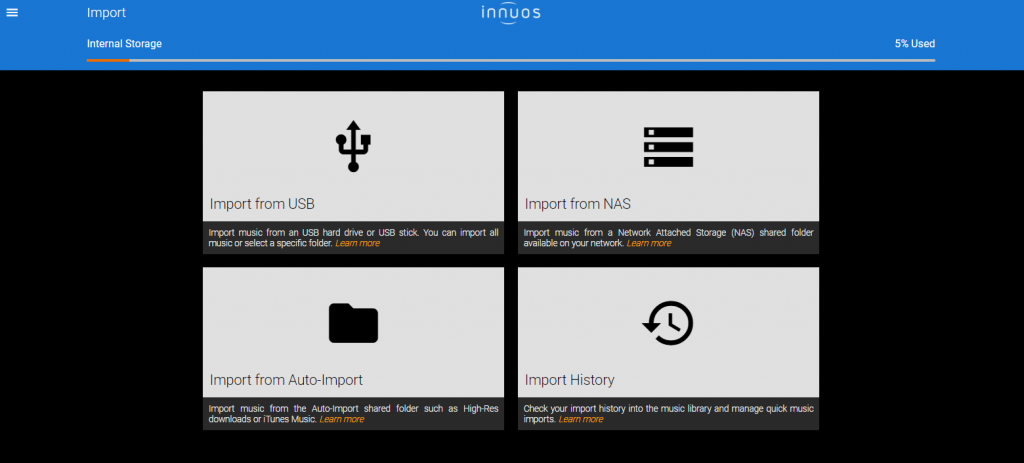
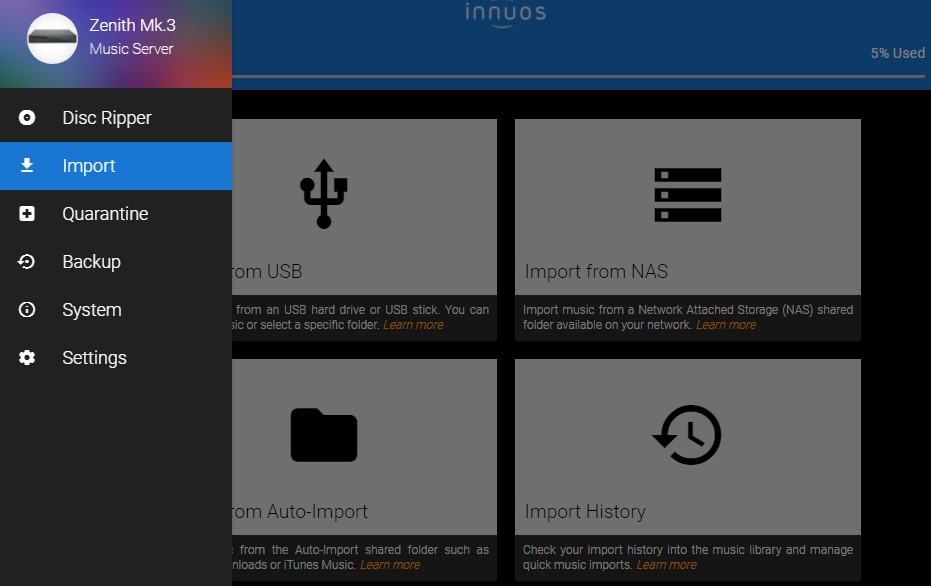
Inside your my.innuos.com in your browser > Select your Innuos unit > Import to see the import options
Follow the steps below to import files from your external USB drive using the “Import from USB option“:
1. On the back of your Innuos unit locate the USB ports and connect you compatible USB drive to it. Make sure your drive is USB 3 compatible and it is working properly.
2. Once properly connected navigate to your browser and type my.innuos.com > select your unit > select ‘Import” from the menu
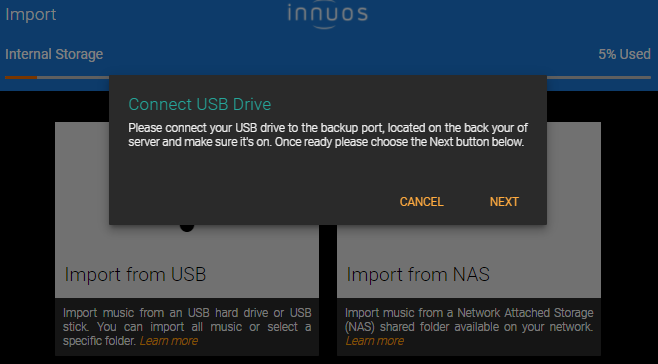
3. Click on the Import USB option on the top left

4. The pop-up window will remind you to connect your USB drive to the back of your Innuos so after that click “Next“
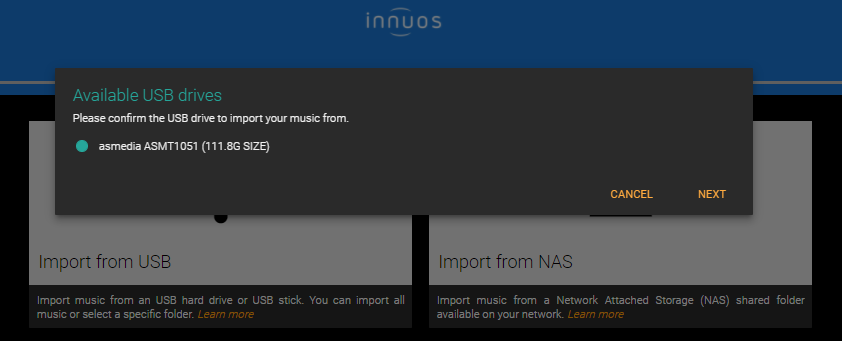
5. The next window will have you identifying your connected USB drive then afterwards click “Next“
6. If you have folders in your drive this next window will prompt you to select one otherwise it will import the entire drive

7. On the next window, you will be able to choose from two types of Import options then click on “Next“
– Quick Import: Choose Quick Import to preserve the existing file and folder structure, and place the Music in a sub-folder that you can name for easy identification.
– Import: Choose Import to automatically re-organize the folder structure, based on the file metadata. Albums that are missing crucial metadata or are duplicates can be edited later on Import History.

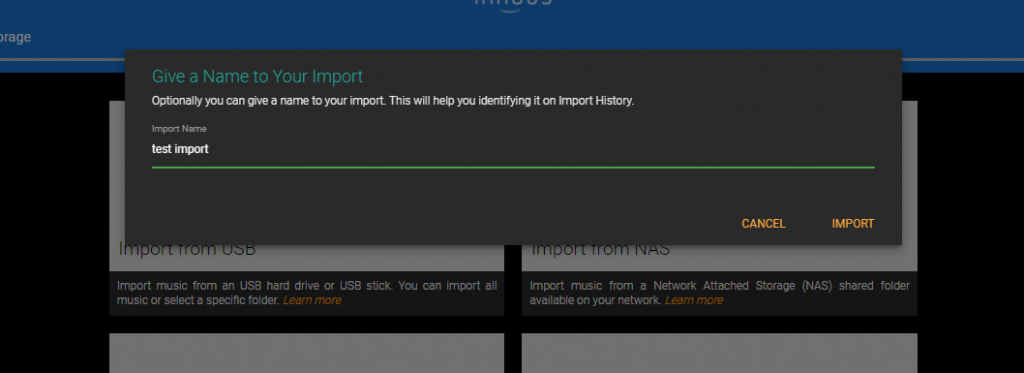
8. Both options will allow you to choose a name to your import action (this will make things easier to identify it in your Import History)
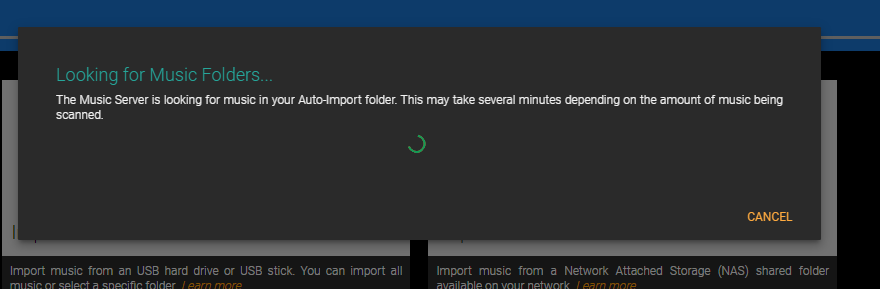
9. Depending on how many files you have in your USB drive this next window will just quickly pop up to tell you that your import is in progress
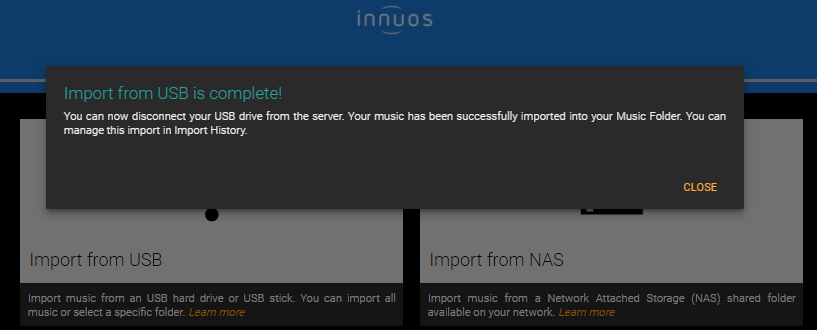
10. At last you will receive a pop-up window with the message that your USB Import process has been completed